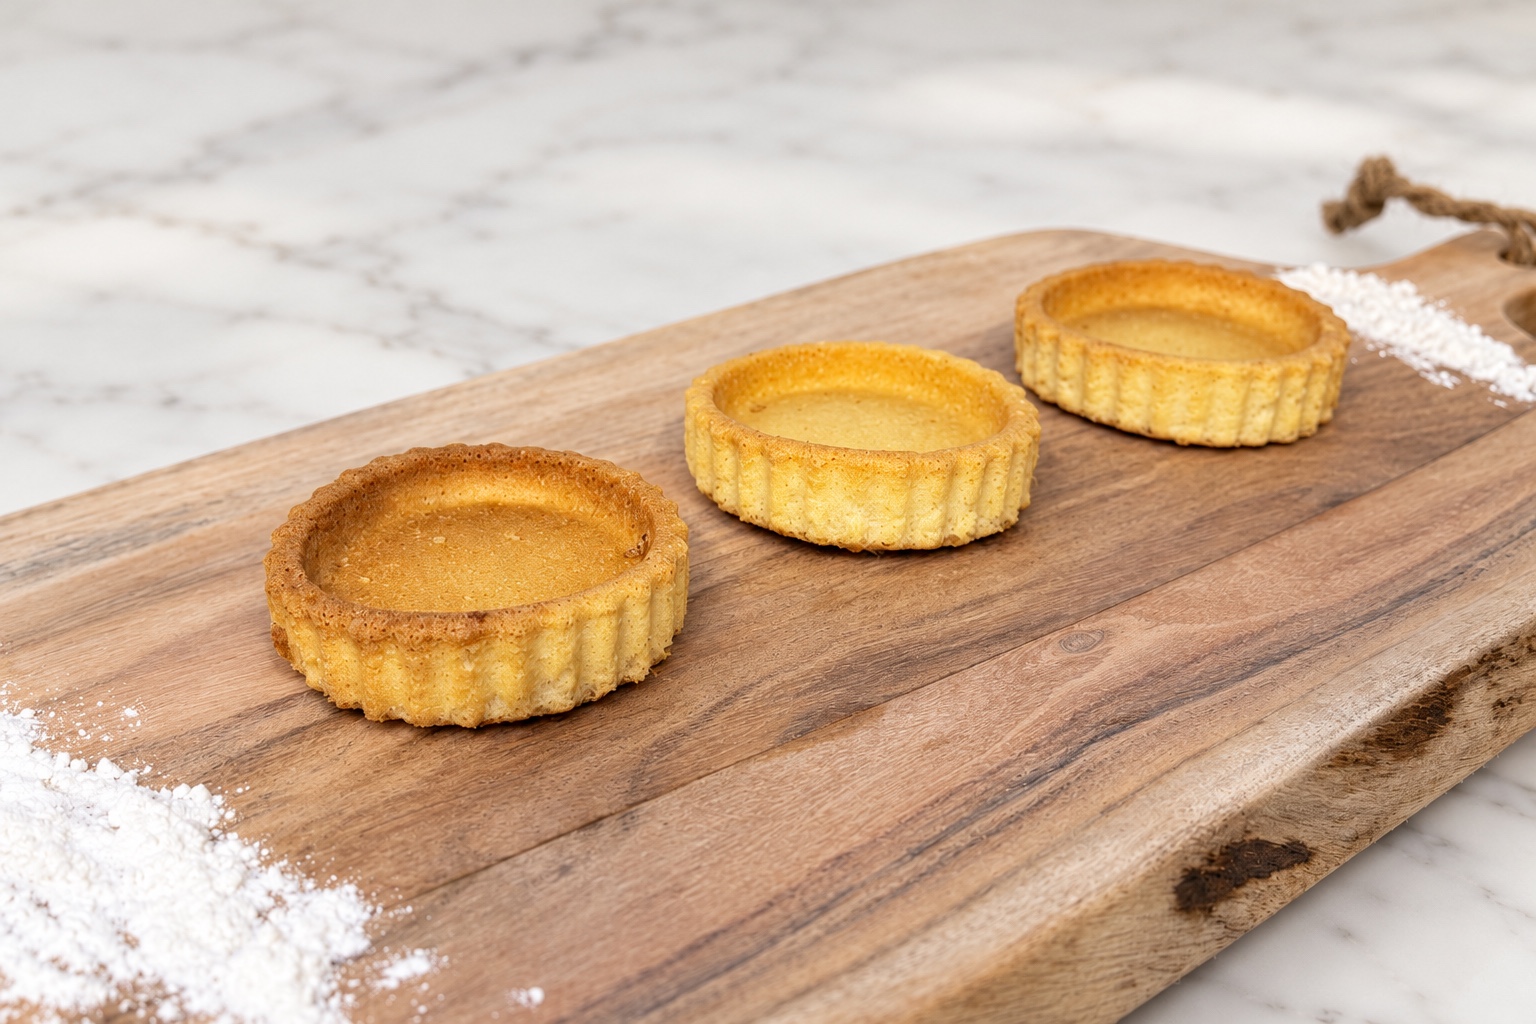
A good tartlet begins with its shell: sturdy enough to hold the filling, yet tender enough to break easily beneath a fork. Made with butter, powdered sugar, and vanilla, this sweet pastry has a delicate, cookie-like texture and a gentle sweetness that works with many fillings.
I made the tartlet shells pictured here at home. Below, you’ll find the recipe, along with the chilling, shaping, and baking details that help the shells keep their shape and bake through evenly.
Fill them with pastry cream and fruit, chocolate ganache, or lemon curd. Having a reliable pastry recipe makes it easy to change the dessert with the season—or with whatever you have in your kitchen.
Why Use Powdered Sugar?
Powdered sugar blends easily into the flour and butter, giving the pastry a fine texture without noticeable sugar crystals. For these tartlets, the goal is a tender shell with the delicate bite of a butter cookie.
Sift the sugar before adding it to remove any lumps and help it distribute evenly.
Sweet Tartlet Shells
Yield: Approximately 8 tartlet shells, each 3⅛ inches (8 cm) across and ¾ inch (2 cm) deep, depending on thickness and pan shape
Prep time: 20 minutes
Chilling time: 1 hour, plus 25–30 minutes after lining the pans
Baking time: 22–30 minutes
Total time: Approximately 2 hours 10 minutes, plus cooling
Difficulty: Easy
Ingredients
- 220 g all-purpose flour
- 60 g powdered sugar, sifted
- 110 g unsalted butter, cold and cubed
- 1 large egg, approximately 50 g without the shell
- ½ teaspoon vanilla extract
- ¼ teaspoon fine salt
- Cold water, only if needed to bring the dough together
Instructions
1. Combine the Flour, Sugar, and Butter
In a large bowl, combine the flour, powdered sugar, and salt. Add the cold butter and work it into the dry ingredients with a pastry cutter or your fingertips until the mixture resembles fine sand.
Work quickly to keep the butter from becoming too soft.
2. Add the Egg and Vanilla
Lightly beat the egg with the vanilla. Add it to the flour mixture and stir with a spatula.
Once the dough begins to clump together, gently press it with your hands until it forms a cohesive dough. Do not knead; it should hold together without becoming elastic.
If it still crumbles when pressed, add cold water one teaspoon at a time, just until it comes together. The dough should not feel sticky.
3. Chill the Dough
Shape the dough into a disc approximately ¾ inch (2 cm) thick. Wrap tightly and refrigerate for at least 1 hour.
This rest allows the flour to hydrate, the butter to firm up, and the dough to relax before rolling.
4. Roll and Cut
If the dough is too firm to roll, let it stand at room temperature for a few minutes. Roll it between two sheets of parchment paper to an even thickness of 2.5–3 mm, or approximately ⅛ inch.
For pans measuring 8 cm across and 2 cm deep, cut circles approximately 12–13 cm (4¾–5⅛ inches) across.
Gather the scraps by gently pressing them together without kneading, then reroll. If the dough softens, refrigerate it before continuing.
5. Line the Tartlet Pans
Gently ease each dough circle into a tartlet pan, pressing it against the base and sides. Make sure the dough sits snugly in the corners without stretching it or leaving air pockets.
Trim the excess flush with the rim. Place the pans on a baking sheet and refrigerate for 25–30 minutes.
6. Blind Bake
Preheat a conventional oven to 350°F / 175°C.
Line each tartlet shell with a small piece of parchment paper and fill with pie weights, uncooked rice, or dried beans. Distribute the weights against the sides as well as across the bottom to support the pastry.
Bake for 15–18 minutes, until the edges are set and just beginning to turn golden.
7. Finish Baking
Carefully remove the parchment and weights. Bake for another 7–12 minutes, until the bottoms look dry and the shells are golden.
Let cool in the pans for 10–15 minutes. Carefully unmold, then transfer to a wire rack to cool completely before filling.
If Your Filling Also Needs Baking
For a filling that requires further baking, bake the shells for only 3–5 minutes after removing the weights, until the bottoms no longer look damp.
Then follow the instructions for your filling recipe. Almond cream, cheesecake filling, and fruit preparations may require different baking times and temperatures.
How to Keep Tartlet Shells from Shrinking
The most important detail is to fit the dough into the pans without stretching it. Dough pulled tightly into place can retract as it bakes.
Handle it as little as possible and allow time for both chilling stages: first as a disc, then again after lining the pans. During blind baking, the weights should support both the bottoms and the sides.
Troubleshooting
- The dough crumbles: First, try pressing it together with your hands. If it will not hold, add cold water in small amounts.
- The dough becomes sticky or soft: Refrigerate for 10–15 minutes before continuing.
- The bottoms are underbaked: Check that the pastry is evenly rolled, then bake a few minutes longer without the weights.
- The edges brown before the bottoms: Protect them with small strips of foil while the bases finish baking. If your oven browns quickly, reduce the temperature to 330°F / 165°C.
- The shells break when unmolding: Allow them to cool slightly before handling, and support the bottoms carefully as you remove them.
Keeping Tartlet Shells Crisp
Let the shells cool completely before adding cream or fruit. For extra protection against moisture, brush the insides with a very thin layer of melted white or dark chocolate. Allow it to set before filling.
This barrier slows softening, though it will not prevent it indefinitely. For the crispest texture, assemble the tartlets close to serving time whenever the filling allows.
Filling Ideas
- Pastry cream and berries: A soft, creamy filling with a fresh finish.
- Lemon curd: A bright citrus contrast to the buttery pastry.
- Chocolate ganache: A rich filling that needs little decoration.
- Vanilla cream and cooked pears: Cool and drain the fruit thoroughly before adding it.
- Mascarpone cream and seasonal fruit: Add the fruit shortly before serving.
A Little Note from the Cottage
“There is something lovely about these shells before they are filled: golden edges, the scent of butter, and small differences that make each one feel homemade. A little cream and seasonal fruit are all they need to become a dessert worth sharing over coffee.”